CSS
CSS – How to Add Mouse Pointer?

The Mouse pointer can be added with the following CSS :- cursor: pointer; Cursor property is used to change the pointer icon. We can apply this property with the help of CSS styles.
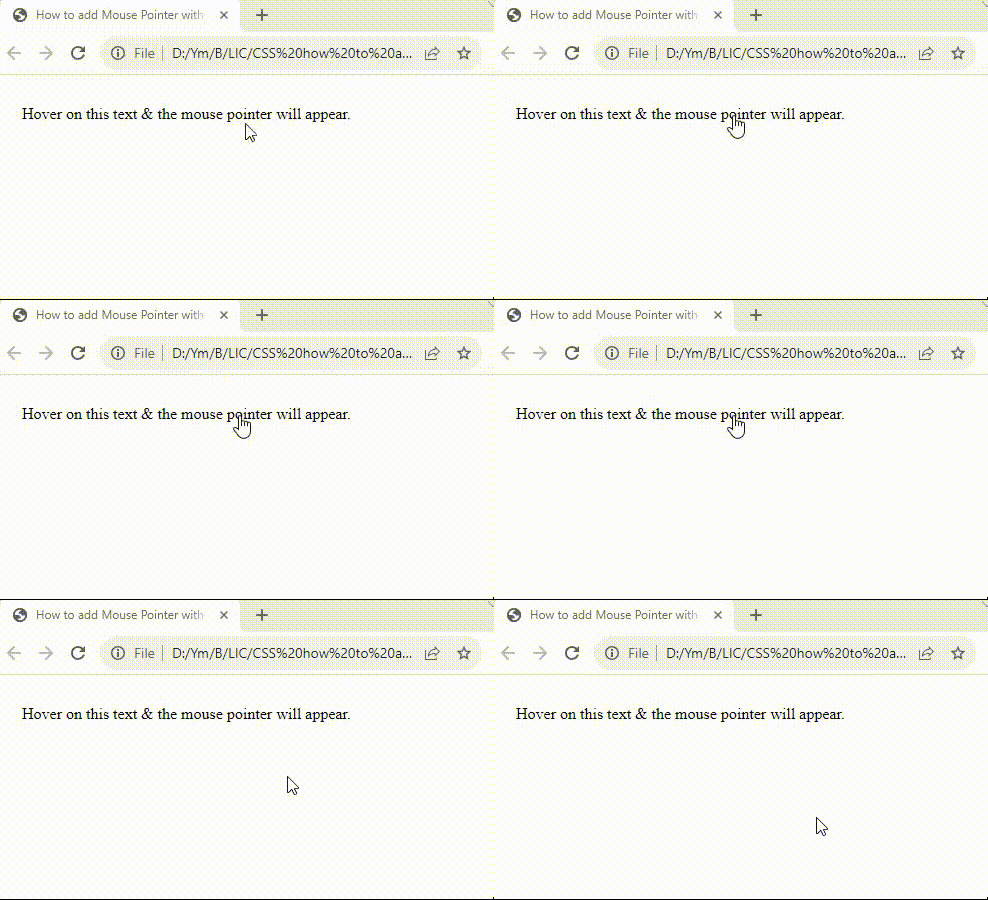
In the CSS section, we have defined a class style that allows the cursor to be displayed as a pointer. In the HTML section, we have created a p tag & the class has been applied to this paragraph element. The class will enforce the rule of displaying the mouse pointer when the user hovers over this element. In the Result image, we can see that the mouse pointer changes as the user hovers over the paragraph element. To change the cursor of the mouse to hand icon, we use the same following CSS cursor: pointer;. To apply this style to a list, we have to use the li tag selector. This will ensure that the style is only applied to all items in the list & not to any other page area.
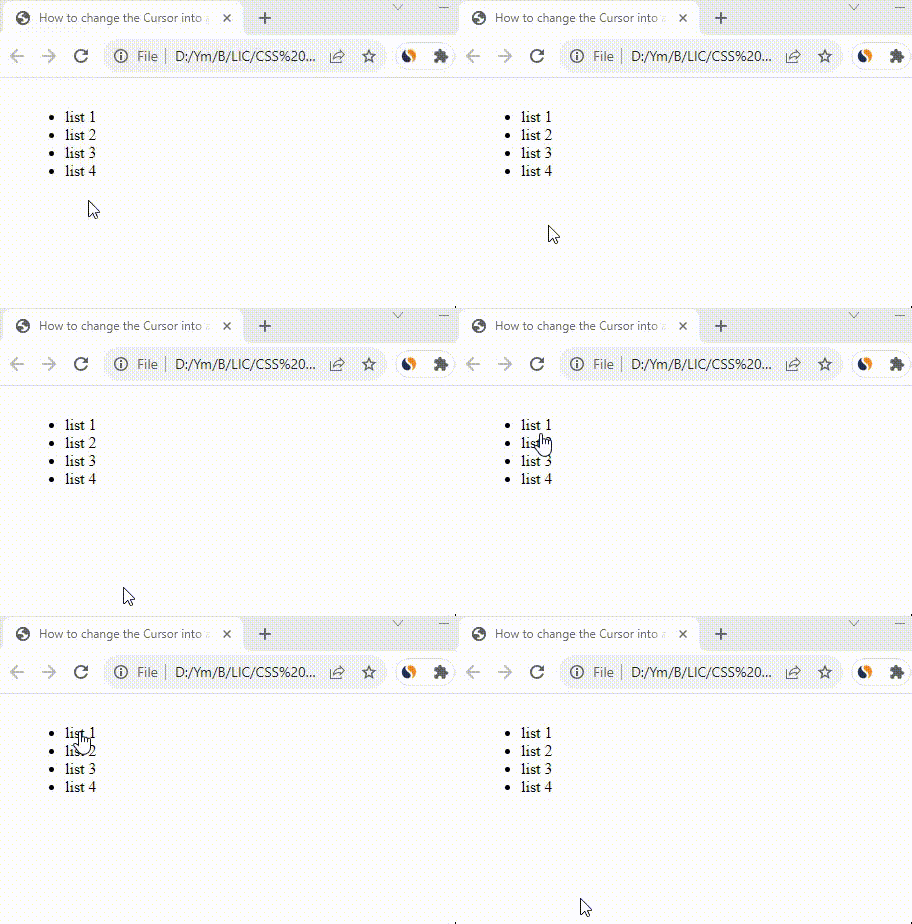
In the CSS section, we have applied the style to the li element. By applying this style to li, it will be applied to all li elements on the page. In the HTML section, we have created an unordered list of items. This list displays the item with bullets preceding every item of the list. In the Result image, when the user hovers the list the mouse pointer can be seen changed to hand icon. Cursor property have many different values. These values allow the mouse pointer to be displayed in many different formats based on the requirement of the HTML section. We can use any one format for an element to manipulate the mouse pointer. Below code contains the list for multiple different cursor pointers that can be used within HTML with CSS. Changing the mouse pointer though CSS requires only 1 property, making it easier to enhance the usability of the web page. Should you have any queries related to this topic, please comment below.Contents
How to add Mouse Pointer with CSS?
CSS :-
	.style1 {
	   cursor: pointer;
	}
HTML :-
	<p class="style1">
	   Hover on this text & the mouse pointer will appear.
	</p>
Result :-

How to Change the Cursor into a Hand when a User Hovers over a List item?
CSS :-
	li {
	   cursor: pointer;
	}
HTML :-
	<ul>
	   <li>list 1</li>
	   <li>list 2</li>
	   <li>list 3</li>
	   <li>list 4</li>
	</ul>
Result :-

CSS Cursor Property
CSS :-
	.auto          	{ cursor: auto; }
	.default       	{ cursor: default; }
	.none          	{ cursor: none; }
	.help          	{ cursor: help; }
	.pointer       	{ cursor: pointer; }
	.progress      	{ cursor: progress; }
	.wait          	{ cursor: wait; }
	.cell          	{ cursor: cell; }
	.crosshair     	{ cursor: crosshair; }
	.text          	{ cursor: text; }
	.alias         	{ cursor: alias; }
	.copy          	{ cursor: copy; }
	.move          	{ cursor: move; }
	.no-drop       	{ cursor: no-drop; }
	.not-allowed   	{ cursor: not-allowed; }
	.all-scroll    	{ cursor: all-scroll; }
	.col-resize    	{ cursor: col-resize; }
	.row-resize    	{ cursor: row-resize; }
	.n-resize      	{ cursor: n-resize; }
	.e-resize      	{ cursor: e-resize; }
	.s-resize      	{ cursor: s-resize; }
	.w-resize      	{ cursor: w-resize; }
	.ns-resize     	{ cursor: ns-resize; }
	.ew-resize     	{ cursor: ew-resize; }
	.ne-resize     	{ cursor: ne-resize; }
	.nw-resize     	{ cursor: nw-resize; }
	.se-resize     	{ cursor: se-resize; }
	.sw-resize     	{ cursor: sw-resize; }
	.nesw-resize   	{ cursor: nesw-resize; }
	.nwse-resize   	{ cursor: nwse-resize; }
	.vertical-text		{ cursor: vertical-text; }
	.context-menu		{ cursor: context-menu; }
HTML :-
	<div>
	   <div class="auto">auto</div>
	   <div class="default">default</div>
	   <div class="none">none</div>
	   <div class="context-menu">context-menu</div>
	   <div class="help">help</div>
	   <div class="pointer">pointer</div>
	   <div class="progress">progress</div>
	   <div class="wait">wait</div>
	   <div class="cell">cell</div>
	   <div class="crosshair">crosshair</div>
	   <div class="text">text</div>
	   <div class="vertical-text">vertical-text</div>
	   <div class="alias">alias</div>
	   <div class="copy">copy</div>
	   <div class="move">move</div>
	   <div class="no-drop">no-drop</div>
	   <div class="not-allowed">not-allowed</div>
	   <div class="all-scroll">all-scroll</div>
	   <div class="col-resize">col-resize</div>
	   <div class="row-resize">row-resize</div>
	   <div class="n-resize">n-resize</div>
	   <div class="s-resize">s-resize</div>
	   <div class="e-resize">e-resize</div>
	   <div class="w-resize">w-resize</div>
	   <div class="ns-resize">ns-resize</div>
	   <div class="ew-resize">ew-resize</div>
	   <div class="ne-resize">ne-resize</div>
	   <div class="nw-resize">nw-resize</div>
	   <div class="se-resize">se-resize</div>
	   <div class="sw-resize">sw-resize</div>
	   <div class="nesw-resize">nesw-resize</div>
	   <div class="nwse-resize">nwse-resize</div>
	</div>
Conclusion
