CSS
CSS – How to Add Background Image from Folder

In this blog, we will learn How to add background images from the folder through CSS within the web project.
Adding a background image on a web page is very crucial. Images are usually placed from within a folder inside the project.
Sometimes the images can be placed in folders that have even more folders. Then usually it may happen that you may add the CSS to place the images but the images won’t display & this happens because URL paths are not properly placed within the CSS.
We will take a look at how to place the correct URL path and we will also understand the syntax for placing the URL path.
There are two ways in which we can apply the image to a particular element on the web page.
We can either be added from the folder or from an online website.
In this blog, We will also take a look at both the ways in which we can apply these background images with the help of CSS property background-image.
Contents
Add Background Image with Folder
Firstly we will take a look at how to add a background image from within a folder.
The background image will be applied with the help of the CSS property background-image.
The image path will be placed within the value of this property.
So when we have our image that is placed within a folder in our web project we can use it with the syntax that is mentioned in the below CSS.
Let’s see the below code that will demonstrate the use of background image with the folder.
CSS :-
    .bg {
       background-image: url('./images/smile.png');
       background-repeat: no-repeat;
       background-position: center;
       width:400px;
       height: 300px;
       border: solid 1px red;
       background-color: #f5f5f5;
    }
HTML :-
    <div class="bg">

    </div>
Result :-
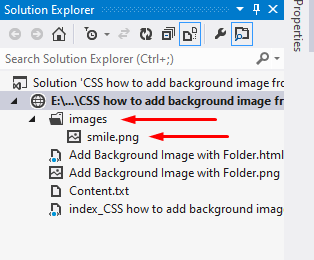
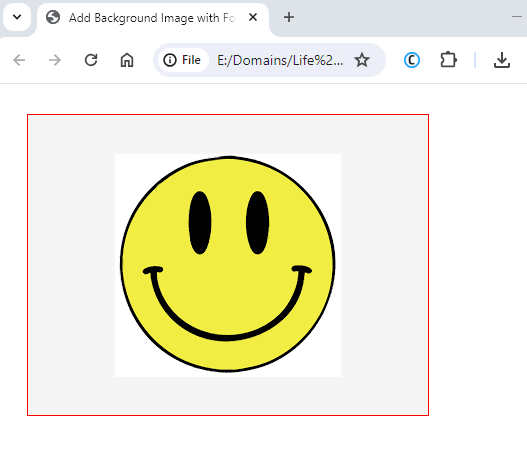
In the CSS code, we have used a class to define the background image with url that picks up the image from the folder. Within the url, We have given the path of the image starting from the root folder.
We have applied the background image with the class and we also used other properties related to the image like background position.
In HTML code, we have created a div element that is empty which is given the class bg.
In the first image, we can see that the image is available within the images folder that is in the root directory.
In the resulting image, the image is displayed within the div that has been given a red border.
Add Background Image from Folder within Folder
The image that we are willing to use may be available in various different folders within the project.
While applying the background image we have to correctly specify the exact path of the image.
Providing the correct path will result in displaying the image correctly on the screen or else the image won’t display in the HTML.
In the below practical case, we have our image available in a folder within another folder.
We will see a practical example of this in the below code snippet.
CSS :-
    .bg {
       background-image: url('./styles/images/smile.png');
       background-repeat: no-repeat;
       background-position: center;
       width:400px;
       height: 300px;
       border: solid 1px red;
       background-color: #f5f5f5;
    }
HTML :-
    <div class="bg">

    </div>
Result :-
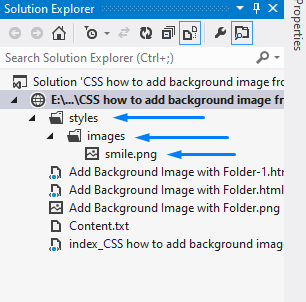
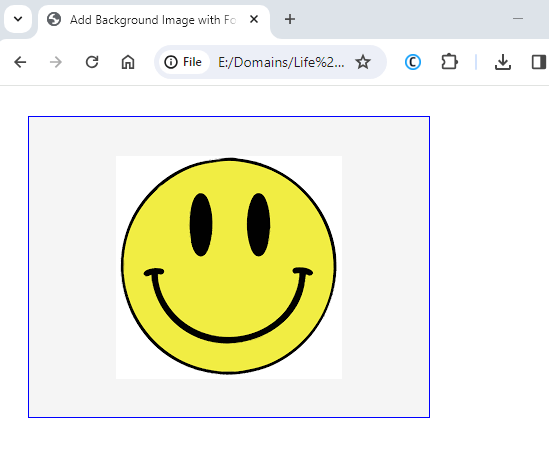
In the CSS code, we have applied the background image with the help of url specified with the names of the folders starting from the root project folder.
In the Result image of the folder, it can be seen that the image is placed in a folder that has another folder.
Add Background Image with URL
In previous cases, we have seen that the images are present on a local system within our home project.
We also have the option to display images on our web pages from an online URL.
Images that are available on the web or on an online website can be displayed by specifying the online URL within the background image.
It is the same background-image property that we have used, the only difference is that within the URL we will place the actual URL of an online website image.
CSS :-
    .bg {
       background-image: url('https://lifeincoding.com/wp-content/uploads/2024/03/smile.png');
       background-repeat: no-repeat;
       background-position: center;
       width:400px;
       height: 300px;
       border: solid 1px red;
       background-color: #f5f5f5;
    }
HTML :-
    <div class="bg">

    </div>
Result :-
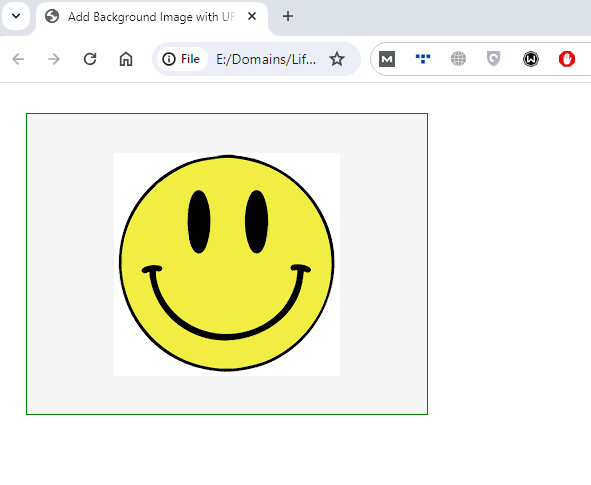
In the CSS section, we created a class that has been given a background image that is picked up from an online website.
In the URL, we have given the web URL of the image. If we copy this URL & open it within a web browser, the image will be displayed directly in that browser because it is an online web URL accessible in the overall globe with the connectivity of the internet.
In the HTML section, we created the element with class bg. This class will apply the background image as can be seen in the resulting image.
Conclusion
So finally we have learned two different ways of using the images on our web pages. In the first section, we have covered How to Add a Background Image from a Folder that is available locally.
In the second method, the image is displayed from an online web URL.
We hope that you have understood How to Add a Background Image from a Folder on your website.
Feel free to share your opinion about this blog that will help us to improve our blogs to even next level.
