CSS
CSS – How to Add Border to Image?

In this article, we will look into the CSS property that will give a border to the image with simple and clear steps.
When we place an image on a web page then it becomes necessary that it should look good.
Border plays an important role in enhancing the visual appearance of the image and the overall web page design.
Applying a border to an image makes the image more alive and attention-oriented in contrast to an image without a border looking dull.
CSS – How to Add Border to Image?
The border property is used to add a border to the image. This property allows us to change the border’s size, design pattern, and color of the border.
There are different ways to apply the border to an image within the CSS styles.
We can create a new class within CSS and further, we can apply this class to any image.
The other way is to directly give the style to the image element within the CSS style.
Practical demonstration to add the border to a image is as follows:-
CSS :-
    img {
       border: 3px solid red;
    }
HTML :-
<img src="https://lifeincoding.com/wp-content/uploads/2024/03/smile.png" alt="Smiley" />
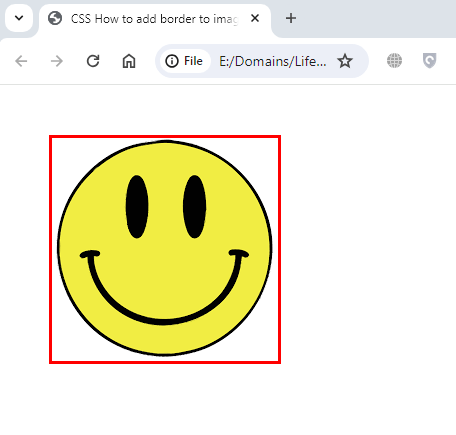
Result :-

In the CSS syntax, we have applied the border style to the image element accepting 3 inputs. First is the size of the border, Second is the style of the border & third is the color of the border.
In the HTML code, we have used the image tag to display the image on the browser.
In the Resulting image, the red border is displayed around the image in solid format with 3px thickness as specified in the CSS style.
Conclusion
We have kept this article simple to understand & it is intended to solve your question “How to add border to image with CSS?”
We have learned to use the CSS property named as border to apply the border to an image. Adding the border to an image is just a matter of one line of CSS code.
Hope this helps.
